
The 2D Export tool in AutoCAD prepares a 2D sprinkler system for HASS Cloud. You work through the steps in order: select the system, assign objects to HASS Cloud components, enter properties, and export.
Before you start, install the HASSCAD plugin. See Installing HASSCAD.
How 2D Export works- 2D Export builds the system geometry from the X and Y locations of the sprinklers and sources in the drawing.
- The export data saves with the drawing. When you save the drawing, everything you entered in the 2D Export tool is saved too.
The Quick Start window opens the first time you start AutoCAD after you install or update the plugin. To reopen the Quick Start window, select Help on the HASS Cloud tab, or type HCHELP and press Enter.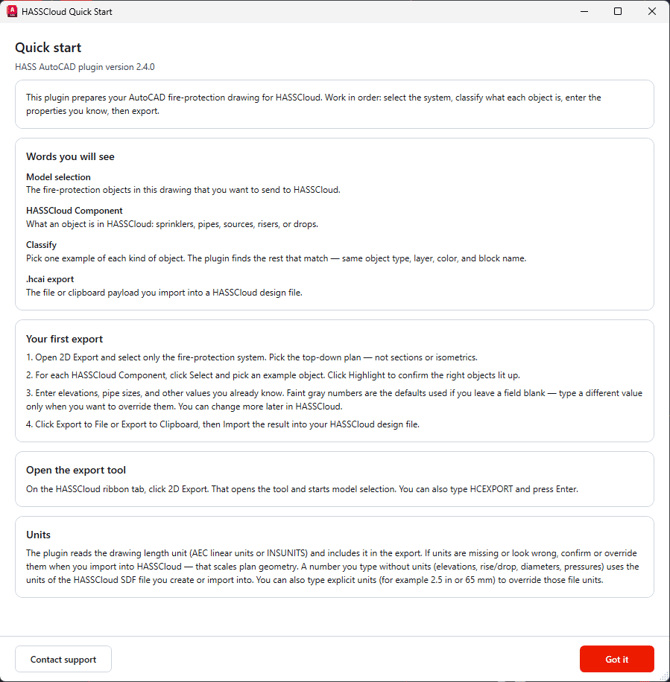
- Open the drawing that contains the sprinkler system.
- On the HASS Cloud tab, select 2D Export. If you turned off the HASS ribbon when you installed the plugin, type HCEXPORT in the command line and press Enter.

Select the model
The tool opens on the Select model to export step. Every selection in the tool uses standard AutoCAD selection.
- Select every object in the top-down view of the system. Don't include section or isometric views.
- Select Next.
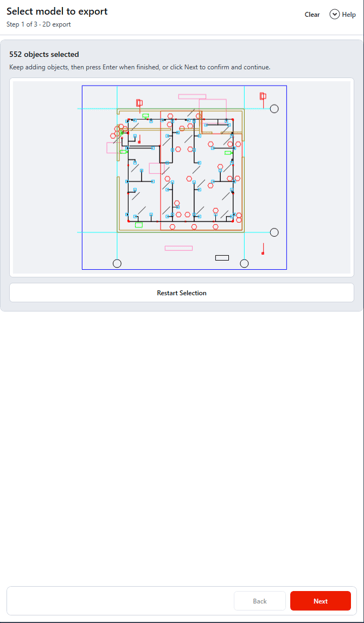
If AutoCAD isn't prompting you to select objects, select Restart Selection.
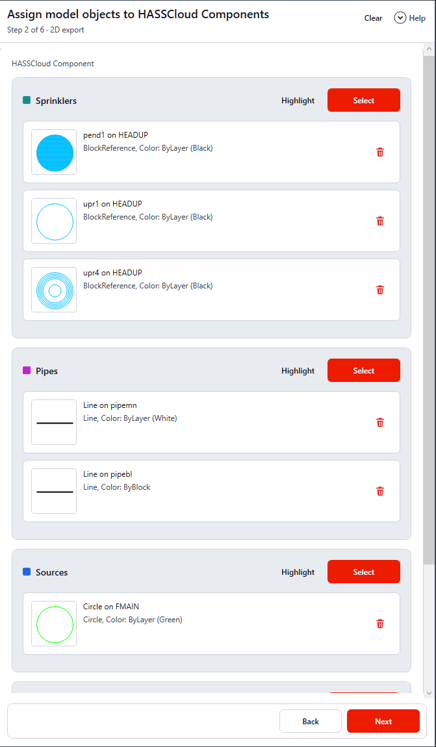
Assign model objects to HASS Cloud componentsOn each component card, pick one example of each kind of object. The plugin finds every object in the model with the same object type, layer, color, and block name.
- On a component card, such as Sprinklers, select the Select button.
- Pick one example of each kind of object for that component. For example, branch lines and mains are often on different layers, so the Pipes card needs an example of each.
- Repeat for each component in the system.
- Select Next.
Tips:
- To check the matches, select Highlight on the card. If the wrong objects are highlighted, select Remove and pick a better example.
- Each object can belong to only one component.
- In a top-down drawing, the source may be a top-of-riser object.
- The Risers and Drops cards work the same way. Use Assign explicit nodes only when the drawing has objects that mark pipe crossings. Most drawings don't need explicit nodes.
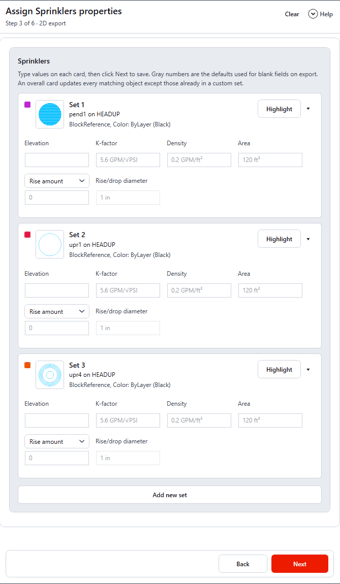
The tool has a property step for each component type you assigned, with a card for each kind of object.
- Enter the values you know on each card.
- Select Next.
Tips:
- A number without units uses the units of the calculation file you import into. To use different units, type the units with the number, for example 2.5 in or 65 mm.
- Gray numbers are defaults. Any field you leave blank uses the gray default. To enter zero, type 0.
- To give some objects different values, select Add new set, pick those objects, and press Enter. A new set doesn't take values from the overall set, so enter every value the new set needs.

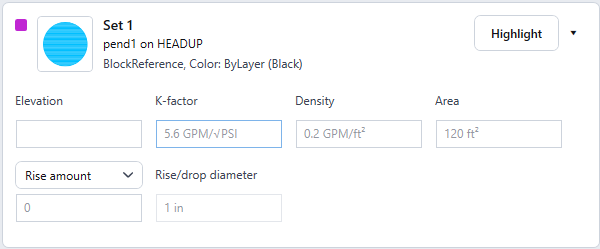
Sprinkler properties
- Elevation.
- K-factor. When you enter a K-factor, Density and Area fill in automatically. You can change them.
- Density.
- Area.
- Rise amount or Drop amount. This is the length of the riser or drop to the sprinkler. Choose Rise amount or Drop amount from the dropdown.
- Rise/drop diameter. This field becomes available after you enter a rise or drop amount.
Pipe properties
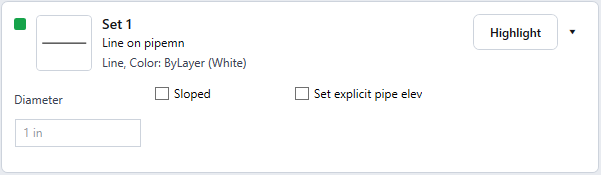
- Diameter.
- Sloped. Select the Sloped checkbox for a sloped pipe, then choose a Slope type:
- Node spanning, the default, makes the pipe span the elevations of the nodes the pipe connects to.
- Explicit slope lets you enter the slope as a Rise and Run. By default, the slope direction follows the direction the line was drawn in. You can flip the slope after you import the system into HASS Cloud.
- Set explicit pipe elevation. Select the Set explicit pipe elevation checkbox to place the pipe at a specific Elevation.
Source properties
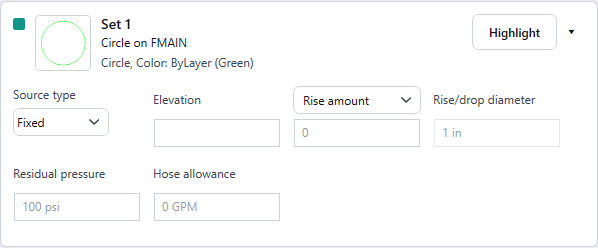
- Source type: Fixed, the default, or Variable.
- Elevation.
- Rise amount or Drop amount. This is the length of the rise or drop from the source.
- Rise/drop diameter.
- Residual pressure.
- Hose allowance.
- Static pressure and Flow, for Variable sources only.
Riser and drop properties
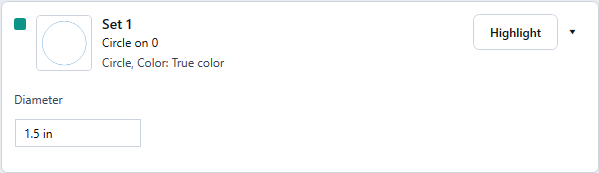
- Diameter.
Review, add remote areas, and export
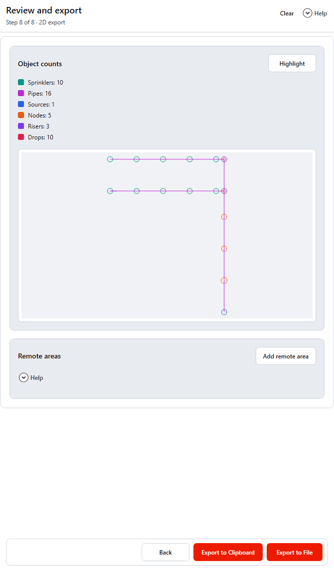
The Review and export step lists the object counts that go into the export.
- Check the Object counts to confirm the full system is in the export. To see the assigned objects in the drawing, select Highlight.
Remote areas allow for you to control which sprinklers will be imported into HASS Cloud. When you specify a remote area, or multiple, sprinklers not in that remote area will not be included in your calculation file. If multiple remote areas are specified,each one will be imported into your calculation file as a new remote area, with shared elements automatically detected. - To add a remote area, which is a group of sprinklers for HASS Cloud to treat as a remote design area:
- Select Add remote area.
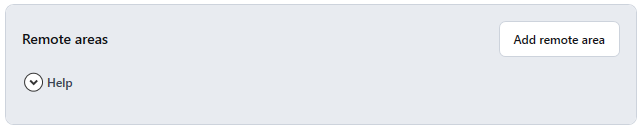
- Window-select the sprinklers in the remote area. To remove sprinklers, hold Shift while you finish the window.
- Press Enter.
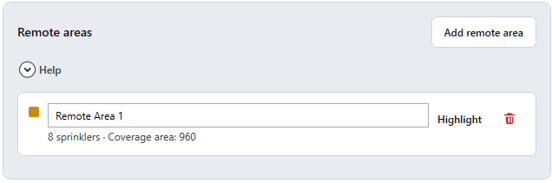
- Repeat for each remote area. You can rename or delete remote areas in the list.
- Select Add remote area.
- Select Export to File or Export to Clipboard.
- Export to File saves a .hcai file where you choose. When you import in HASS Cloud, select the .hcai file.
- Export to Clipboard doesn't save a file. In Chrome or Edge, HASS Cloud usually picks up the export automatically when you import. In other browsers, press Ctrl+V on the import screen or select AutoCAD clipboard.

If some objects in the model aren't assigned to a component, the tool warns you before exporting.
Related articles: Installing HASSCAD · Importing an AutoCAD System into HASS Cloud · Exporting and Importing Multiple Remote Areas from AutoCAD